Setting Up a ScaleIO Storage Cluster on Ubuntu 16.04

ScaleIO is a software-defined SAN product from EMC Corporation. It allows you to create a block storage cluster using commodity hardware. ScaleIO is a closed source product. It’s free for non-production use, for an unlimited time, without capacity restrictions.

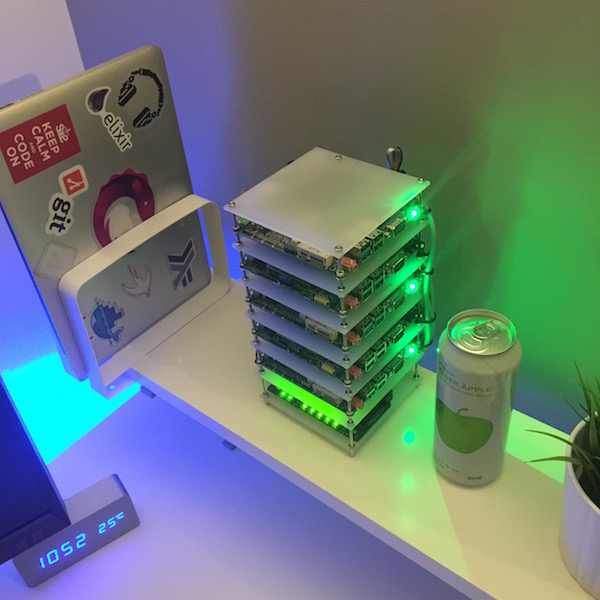
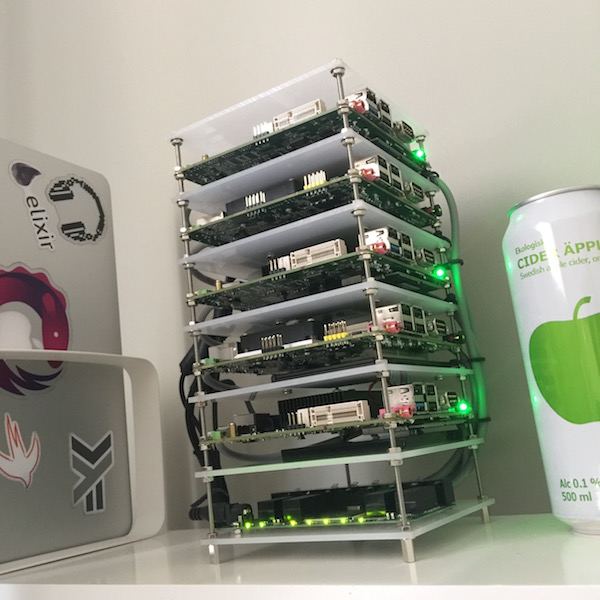
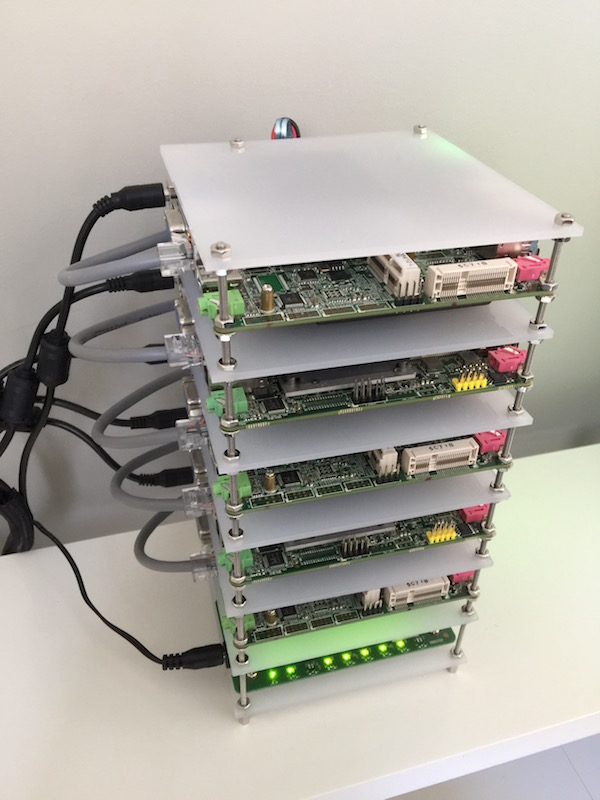
Today I’m trialling ScaleIO on my homelab cluster to provide persistent storage for application containers. While I’m using Kubernetes to abstract compute, a product like ScaleIO allows me to abstract storage. The end result is that stateful applications can come and go, and it doesn’t matter which Kubernetes node they end up on. They will always be able to get access to their provisioned storage. Kubernetes enables this through Persistent Volumes, and the ScaleIO volume plugin is supported out of the box.

Node Preparation

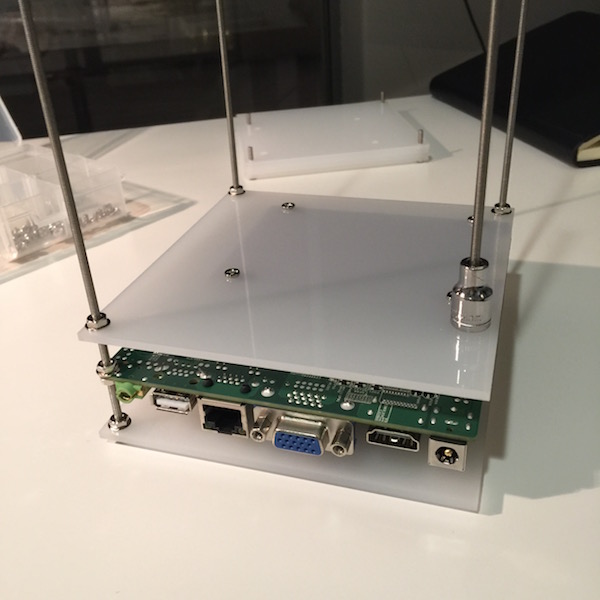
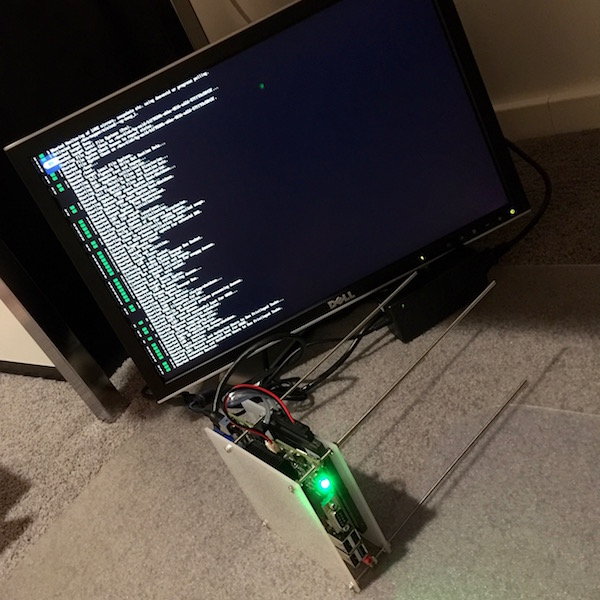
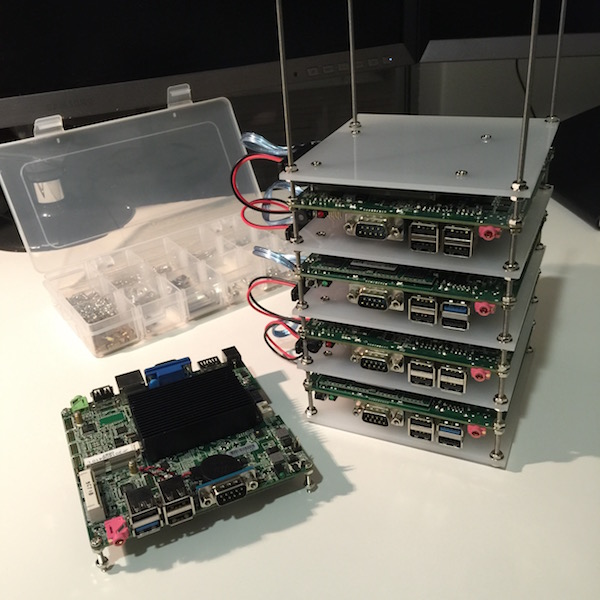
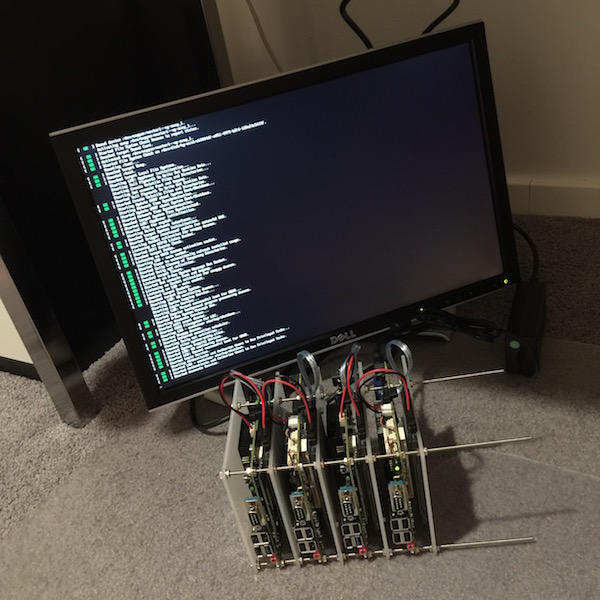
My cluster nodes are running Ubuntu Xenial on bare metal. First, we’ll enable root login via ssh, so that the ScaleIO Installation Manager can log into each node and do its thing. On each node:

sudo passwd
sudo sed -i 's/prohibit-password/yes/' /etc/ssh/sshd_config
sudo service ssh reload

This dependency is also needed:

sudo apt-get install libaio1

Note that each ScaleIO Data Server (SDS) device needs a minimum of 90GB. I had set aside 75GB on each node for this exercise and ended up having to resize a bunch of partitions. The GParted Live USB came in handy for that.

Gateway and Installation Manager Setup

Next, we’ll install the ScaleIO Gateway and Installation Manager. We only need to set this up on one of the nodes.

The Gateway requires a Java 8 runtime as well as binutils:

sudo apt-get install openjdk-8-jre binutils

The Gateway and Installation Manager are installed using a .deb file that was included in the ScaleIO download:

sudo GATEWAY_ADMIN_PASSWORD=somepass \
    dpkg -i emc-scaleio-gateway_2.0-12000.122_amd64.deb

Cluster Install via the Installation Manager

Once dpkg is done, we can access the Installation Manager UI by pointing our browser to the server on which we have just performed the installation. We need to connect via HTTPS, and accept the certificate when prompted.

From then on it’s just a matter of using the fairly self-explanatory UI.

The ScaleIO Installation Manager UI

Add SDS Devices

After the Installation Manager has finished setting up all the nodes, it’s time to add some storage to the cluster.

Log into the Meta Data Manager (MDM)…

scli --login --username admin --password somepass

And add some devices. In the following example I’m adding an empty partition /dev/sda1 from the 192.168.1.101 node to the storage pool.

scli --add_sds_device \
     --sds_ip 192.168.1.101 \
     --protection_domain_name default \
     --storage_pool_name default \
     --device_path /dev/sda1

The ScaleIO Management GUI

Finally, I installed the ScaleIO Management GUI in a Windows virtual machine, and confirmed that the devices were correctly provisioned.

The ScaleIO Management UI

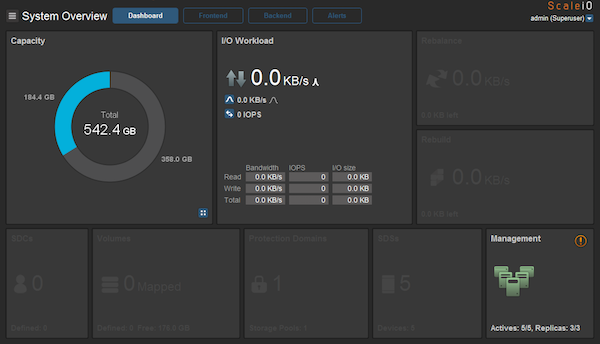
There was a warning waiting for me when I logged into the management GUI:

Configured spare capacity is smaller than largest fault unit

One of my nodes has a larger SSD than the others. The default spare percentage hadn’t set aside enough spare space to cover the loss of that device. Adjusting the spare percentage fixed that:

scli --modify_spare_policy \
     --protection_domain_name default \
     --storage_pool_name default \
     --spare_percentage 34

Full Post + Comments

First Steps with Ansible

Ansible is an open-source tool that allows you to automate server provisioning, manage configuration and deploy applications.

Where does a tool like Ansible fit in today’s immutable infrastructure world? While containers are better at enforcing immutability, if I’m starting from bare metal, I still need a tool to bootstrap and manage the compute and storage clusters that my containerised workloads will use. That’s where Ansible comes in.

Installation

First, let’s install Ansible on our control machine. In my case that’s my development laptop. On macOS we can use Homebrew:

brew install ansible

We also need to install Ansible on the nodes that we’ll be managing. It looks like this on Ubuntu:

sudo apt-get install software-properties-common
sudo apt-add-repository -y ppa:ansible/ansible
sudo apt-get update && sudo apt-get -y install ansible

Initial Configuration

Next we’ll need an inventory that lists the managed nodes. If you installed Ansible via homebrew, the default location is ~/homebrew/etc/ansible/hosts/hosts. Let’s go ahead and create our inventory:

[masters]
master1 ansible_host=192.168.1.101

[minions]
minion1 ansible_host=192.168.1.102
minion2 ansible_host=192.168.1.103
minion3 ansible_host=192.168.1.104
minion4 ansible_host=192.168.1.105

You can put the Ansible hostfile in a custom location. If you do that, you can tell Ansible about it in ~/.ansible.cfg. For example:

[defaults]
hostfile=~/projects/home-cluster/ansible/hosts

Ensure that you can log into the managed hosts using your SSH key.

First Commands

Let’s take Ansible for a test drive. We can run a command from the control machine and target specific managed nodes:

ansible master1 -a date
ansible minions -a date

Here’s an example of running a command against all the nodes, as root, via sudo:

ansible all -a "apt-get update" -bK

To run an Ansible module on a managed node:

ansible minion2 -m ping

Ansible modules are reusable scripts that can be used via the ansible command and in Ansible Playbooks.

Next Steps - Playbooks

While using Ansible to run ad hoc commands against managed nodes is useful, its real power is unlocked via playbooks. Playbooks are Ansible’s configuration, deployment, and coordination language. They are written using YAML. Here’s an example from Ansible’s documentation website:

---
- hosts: webservers
  vars:
    http_port: 80
    max_clients: 200
  remote_user: root
  tasks:
  - name: ensure apache is at the latest version
    yum: name=httpd state=latest
  - name: write the apache config file
    template: src=/srv/httpd.j2 dest=/etc/httpd.conf
    notify:
    - restart apache
  - name: ensure apache is running (and enable it at boot)
    service: name=httpd state=started enabled=yes
  handlers:
    - name: restart apache
      service: name=httpd state=restarted

As you can see, playbooks tend to be pretty self-documenting and more succint than ad hoc scripts.

To run a playbook, use the ansible-playbook command e.g.:

ansible-playbook bootstrap-kubernetes.yaml

I hope that this quick overview has given you an idea of what Ansible is, when you might want to use it, and how you would use it to manage remote hosts.

Full Post + Comments

Yvaine, born 20/01/2017

Yvaine

Full Post + Comments

5 Node Nano ITX Kubernetes Tower

I’ve just finished the latest addition to the home office. I call it my mini Kubernetes tower, a five node cluster built out of Nano ITX boards.

What is It for?

Software development. These days I deploy the server side applications that I build to Kubernetes. This will be my home development cluster.

What Is It Made of?

The cluster has a total of 16 physical cores, 40GB of memory and 720GB of SSD storage. Three of the nodes are passively cooled quad-core J1900 Celerons. The other two nodes have dual-core i3 processors.

The bottom layer contains an 8-port gigabit switch. On top of that is the first node: An SSD mounted on a piece of acrylic, a few mm of clearance, then the mainboard. The other nodes follow the same pattern.

The tower is 25cm tall and has a square footprint of 12.5 by 12.5cm.

The Build

I had some time to plan the build while waiting for all the parts to arrive. I decided to use acrylic sheets to mount the network switch and SSDs on, and threaded rods to hold everything together.

The hardest part of the build was figuring out how to drill close to the edges of acrylic sheets without causing breakages.

The trick was to use a very slow drilling speed, and to stop just before the drill bit poked through. I then turned the sheet over and drilled through the other side.

I took a 1m M3 threaded rod and cut it into 25cm pieces. I placed a spacer on each side of where I was going to cut, performed the cut and filed the ends. I then unwound the spacers off to rethread the ends.

I started with the top cover.

Then added the motherboard for the first node.

The SSD was next.

And the first node was done.

I had already installed Ubuntu 16.04 on each node before hand, but I made sure to test each node as the build progressed.

It would have been inconvenient to have to take a faulty part out from the middle of the stack.

I mounted the switch last.

And then crimped a bunch of cables and networked everything together.

I powered all the nodes up and finally, success: We have blinking lights!

Full Post + Comments

Akka Clustering with Kubernetes

klusterd is an example Akka Cluster project that is packaged using Docker and deployed to Kubernetes.

Taking klusterd for a test drive

First, clone the project from GitHub.

git clone https://github.com/vyshane/klusterd.git

We’ll use sbt to package the application as a Docker image.

$ cd klusterd
$ sbt "docker:publishLocal"

This creates a local Docker image for us:

$ docker images | grep klusterd
vyshane/klusterd                      1.0                  43ee995e8adb        1 minute ago      690.7 MB

To deploy our klusterd image to our Kubernetes cluster:

$ cd ../deployment
$ ./up.sh

We can see that a klusterd pod comes up:

$ kubectl get pods
NAME                   READY     STATUS    RESTARTS   AGE
klusterd-6srxl         1/1       Running   0          1m

Let’s tail its log:

$ kubectl logs -f klusterd-6srxl

We can see that klusterd is running at the IP address 172.17.0.3 and listening on port 2551.

INFO  14:58:06.022UTC akka.remote.Remoting - Starting remoting
INFO  14:58:06.235UTC akka.remote.Remoting - Remoting started; listening on addresses :[akka.tcp://klusterd@172.17.0.3:2551]

Since we have only launched one klusterd node, it is its own cluster seed node.

INFO  14:58:06.446UTC akka.actor.ActorSystemImpl(klusterd) - Configured seed nodes: akka.tcp://klusterd@172.17.0.3:2551

We have a cluster of one.

INFO  14:58:06.454UTC akka.cluster.Cluster(akka://klusterd) - Cluster Node [akka.tcp://klusterd@172.17.0.3:2551] - Node [akka.tcp://klusterd@172.17.0.3:2551] is JOINING, roles []
INFO  14:58:06.482UTC akka.cluster.Cluster(akka://klusterd) - Cluster Node [akka.tcp://klusterd@172.17.0.3:2551] - Leader is moving node [akka.tcp://klusterd@172.17.0.3:2551] to [Up]
INFO  14:58:06.505UTC akka.tcp://klusterd@172.17.0.3:2551/user/cluster-monitor - Cluster member up: akka.tcp://klusterd@172.17.0.3:2551

Now, let’s scale this cluster up. Let’s ask Kubernetes for 2 more nodes:

$ kubectl scale --replicas=3 rc klusterd

We can see from klusterd-6srxl's logs that two more nodes join our cluster shortly after.

INFO  15:11:46.525UTC akka.cluster.Cluster(akka://klusterd) - Cluster Node [akka.tcp://klusterd@172.17.0.3:2551] - Node [akka.tcp://klusterd@172.17.0.4:2551] is JOINING, roles []
INFO  15:11:46.533UTC akka.cluster.Cluster(akka://klusterd) - Cluster Node [akka.tcp://klusterd@172.17.0.3:2551] - Node [akka.tcp://klusterd@172.17.0.5:2551] is JOINING, roles []
INFO  15:11:47.484UTC akka.cluster.Cluster(akka://klusterd) - Cluster Node [akka.tcp://klusterd@172.17.0.3:2551] - Leader is moving node [akka.tcp://klusterd@172.17.0.4:2551] to [Up]
INFO  15:11:47.505UTC akka.cluster.Cluster(akka://klusterd) - Cluster Node [akka.tcp://klusterd@172.17.0.3:2551] - Leader is moving node [akka.tcp://klusterd@172.17.0.5:2551] to [Up]
INFO  15:11:47.507UTC akka.tcp://klusterd@172.17.0.3:2551/user/cluster-monitor - Cluster member up: akka.tcp://klusterd@172.17.0.4:2551
INFO  15:11:47.507UTC akka.tcp://klusterd@172.17.0.3:2551/user/cluster-monitor - Cluster member up: akka.tcp://klusterd@172.17.0.5:2551

We can scale the cluster down:

$ kubectl scale --replicas=2 rc klusterd

And a node leaves the cluster. In our case, the original pod klusterd-6srxl was killed. Here are the logs from another node showing what happened:

WARN  15:19:31.855UTC akka.tcp://klusterd@172.17.0.4:2551/system/endpointManager/reliableEndpointWriter-akka.tcp%3A%2F%2Fklusterd%40172.17.0.3%3A2551-0 - Association with remote system [akka.tcp://klusterd@172.17.0.3:2551] has failed, address is now gated for [5000] ms. Reason: [Disassociated] 
WARN  15:19:35.376UTC akka.tcp://klusterd@172.17.0.4:2551/user/cluster-monitor - Cluster member unreachable: akka.tcp://klusterd@172.17.0.3:2551
WARN  15:19:35.405UTC akka.tcp://klusterd@172.17.0.4:2551/system/cluster/core/daemon - Cluster Node [akka.tcp://klusterd@172.17.0.4:2551] - Marking node(s) as UNREACHABLE [Member(address = akka.tcp://klusterd@172.17.0.3:2551, status = Up)]
INFO  15:19:45.384UTC akka.cluster.Cluster(akka://klusterd) - Cluster Node [akka.tcp://klusterd@172.17.0.4:2551] - Leader is auto-downing unreachable node [akka.tcp://klusterd@172.17.0.3:2551]
INFO  15:19:45.387UTC akka.cluster.Cluster(akka://klusterd) - Cluster Node [akka.tcp://klusterd@172.17.0.4:2551] - Marking unreachable node [akka.tcp://klusterd@172.17.0.3:2551] as [Down]
INFO  15:19:46.412UTC akka.cluster.Cluster(akka://klusterd) - Cluster Node [akka.tcp://klusterd@172.17.0.4:2551] - Leader is removing unreachable node [akka.tcp://klusterd@172.17.0.3:2551]
INFO  15:19:46.414UTC akka.tcp://klusterd@172.17.0.4:2551/user/cluster-monitor - Cluster member removed: akka.tcp://klusterd@172.17.0.3:2551
WARN  15:19:52.756UTC akka.tcp://klusterd@172.17.0.4:2551/system/endpointManager/reliableEndpointWriter-akka.tcp%3A%2F%2Fklusterd%40172.17.0.3%3A2551-3 - Association with remote system [akka.tcp://klusterd@172.17.0.3:2551] has failed, address is now gated for [5000] ms. Reason: [Association failed with [akka.tcp://klusterd@172.17.0.3:2551]] Caused by: [No response from remote for outbound association. Associate timed out after [15000 ms].]
INFO  15:19:52.758UTC akka.tcp://klusterd@172.17.0.4:2551/system/transports/akkaprotocolmanager.tcp0/akkaProtocol-tcp%3A%2F%2Fklusterd%40172.17.0.3%3A2551-4 - No response from remote for outbound association. Associate timed out after [15000 ms].

To turn off everything:

./down.sh

Full Post + Comments

Multi-node Cassandra Cluster Made Easy with Kubernetes

Cassandra cluster in terminal window

I’ve just shared an easy way to launch a Cassandra cluster on Kubernetes.

The Kubernetes project has a Cassandra example that uses a custom seed provider for seed discovery. The example makes use of a Cassandra Docker image from gcr.io/google_containers.

However, I wanted a solution based on the official Cassandra Docker image. This is what I came up with.

First, I created a headless Kubernetes service that provides the IP addresses of Cassandra peers via DNS A records. The peer service definition looks like this:

<br />apiVersion: v1
kind: Service
metadata:
  labels:
    name: cassandra-peers
  name: cassandra-peers
spec:
  clusterIP: None
  ports:
    - port: 7000
      name: intra-node-communication
    - port: 7001
      name: tls-intra-node-communication
  selector:
    name: cassandra

Then I extended the official Cassandra image with the addition of dnsutils (for the dig command) and a custom entrypoint that configures seed nodes for the container. The new entrypoint script is pretty straight forward:

my_ip=$(hostname --ip-address)

CASSANDRA_SEEDS=$(dig $PEER_DISCOVERY_DOMAIN +short | 
    grep -v $my_ip | 
    sort | 
    head -2 | xargs | 
    sed -e 's/ /,/g')

export CASSANDRA_SEEDS

/docker-entrypoint.sh "$@"

Whenever a new Cassandra pod is created, it automatically discovers seed nodes through DNS.

Full Post + Comments

Kubernetes via Docker Compose

Kubernetes Logo

So I’ve decided to revisit my Kubernetes development cluster setup. The Mark 2 setup uses Docker Compose to launch the Kubernetes cluster in Docker.

To try it out, clone the GitHub repository:

git clone https://github.com/vyshane/docker-compose-kubernetes.git

The project also comes with:

Starting Kubernetes on Linux

On Linux we’ll run Kubernetes using a local Docker Engine. You will also need Docker Compose as well as the kubectl tool. To launch the cluster:

./kube-up.sh

Starting Kubernetes on OS X

On OS X we’ll launch Kubernetes inside a boot2docker VM via Docker Machine. You will need to have Docker Machine (v0.5.0 or newer), Docker Compose, and the kubectl tool installed locally. First start your boot2docker VM:

docker-machine start <name>
eval "$(docker-machine env $(docker-machine active))"

Then, launch the Kubernetes cluster in boot2docker via Docker Machine:

./kube-up.sh

The script will set up port forwarding so that you can use kubectl locally without having to ssh into boot2docker.

Checking if Kubernetes Is Running

kubectl cluster-info
Kubernetes master is running at http://localhost:8080
KubeUI is running at http://localhost:8080/api/v1/proxy/namespaces/kube-system/services/kube-ui

Accessing Kube UI

You can access Kube UI at http://localhost:8080/ui.

To destroy the cluster

./kube-down.sh

This will also remove any services, replication controllers and pods that are running in the cluster.

Full Post + Comments

Setting up a Kubernetes Cluster using CoreOS on VMWare Fusion

Kubernetes Logo

I recently wanted to set up a local Kubernetes cluster for development on my Mac. I tried many howtos in various state of staleness and brokenness. The official Vagrant setup didn’t even work for me on OS X until yesterday.

While I was happy that the Vagrant setup was working again, my preferred development environment was on CoreOS via VMWare Fusion. The following is what worked for me. I’ve put together information from the Kubernetes “CoreOS Multinode Cluster” guide and the CoreOS “Running CoreOS on VMware” documentation.

Getting the latest CoreOS VMWare image

First, get the latest VMWare image for the CoreOS channel that you want. E.g. for the beta channel:

curl -LO http://beta.release.core-os.net/amd64-usr/current/coreos_production_vmware_ova.ova

Creating a virtual machine for the Kubernetes master

Open the downloaded file using VMWare Fusion. VMWare will create a .vmwarevm from the .ova. Give your virtual machine a name, e.g. “Kubernetes Master”.

We’ll use Cloud-Config to customise this CoreOS instance upon boot, turning it into our Kubernetes cluster master. Download the master.yaml file from the Kubernetes CoreOS getting started guide

Then create an .iso that VMWare can use as a config drive for the virtual machine.

mkdir -p /tmp/new-drive/openstack/latest/
cp master.yaml /tmp/new-drive/openstack/latest/user_data
hdiutil makehybrid -iso -joliet -joliet-volume-name "config-2" \ 
  -joliet -o master.iso /tmp/new-drive

You can get the virtual machine to access the .iso by going to the VM’s Settings, then CD/DVD (IDE).

Creating a Kubernetes minion virtual machine

Open the downloaded .ova file again using VMWare Fusion. Give your virtual machine a name, e.g. “Kubernetes Node 1″.

Download the node.yaml file from the Kubernetes CoreOS getting started guide. Edit the file and replace all instances of with the IP address of the master node. Then create a node config-drive.

mkdir -p /tmp/new-drive/openstack/latest/
cp node.yaml /tmp/new-drive/openstack/latest/user_data
hdiutil makehybrid -iso -joliet -joliet-volume-name "config-2" \ 
  -joliet -o node.iso /tmp/new-drive

Boot your Kubernetes node image using node.iso as a config drive. You can create multiple nodes and they will connect to the master.

Testing it out

Once you have both the master and minion up, you can use kubectl to check on the cluster.

kubectl -s <master-ip-address>:8080 get nodes

Full Post + Comments

Android bitmap image resource sizes for the different screen pixel densities

Here’s a handy table that you can refer to when creating image bitmap resources for your Android app.

Qualifier Approximate dpi Scaling ratio
ldpi 120 Baseline
mdpi 160 4/3 * ldpi
hdpi 240 6/4 * mdpi
xhdpi 320 8/6 * hdpi
xxhdpi 480 12/8 * xhdpi
xxxhdpi 640 16/12 * xxhdpi
nodpi N/A Not scaled
tvdpi 213 1.33 * mdpi

xxxhdpi is only used for launch icons.

Source: Android Developer Guide: Providing Alternative Resources

Full Post + Comments

Where the magic happens

Home office

The man cave.

Full Post + Comments