Setting Up a ScaleIO Storage Cluster on Ubuntu 16.04
ScaleIO is a software-defined SAN product from EMC Corporation. It allows you to create a block storage cluster using commodity hardware. ScaleIO is a closed source product. It’s free for non-production use, for an unlimited time, without capacity restrictions.
Today I’m trialling ScaleIO on my homelab cluster to provide persistent storage for application containers. While I’m using Kubernetes to abstract compute, a product like ScaleIO allows me to abstract storage. The end result is that stateful applications can come and go, and it doesn’t matter which Kubernetes node they end up on. They will always be able to get access to their provisioned storage. Kubernetes enables this through Persistent Volumes, and the ScaleIO volume plugin is supported out of the box.
Node Preparation
My cluster nodes are running Ubuntu Xenial on bare metal. First, we’ll enable root login via ssh, so that the ScaleIO Installation Manager can log into each node and do its thing. On each node:
sudo passwd
sudo sed -i 's/prohibit-password/yes/' /etc/ssh/sshd_config
sudo service ssh reload
This dependency is also needed:
sudo apt-get install libaio1
Note that each ScaleIO Data Server (SDS) device needs a minimum of 90GB. I had set aside 75GB on each node for this exercise and ended up having to resize a bunch of partitions. The GParted Live USB came in handy for that.
Gateway and Installation Manager Setup
Next, we’ll install the ScaleIO Gateway and Installation Manager. We only need to set this up on one of the nodes.
The Gateway requires a Java 8 runtime as well as binutils:
sudo apt-get install openjdk-8-jre binutils
The Gateway and Installation Manager are installed using a .deb file that was included in the ScaleIO download:
sudo GATEWAY_ADMIN_PASSWORD=somepass \
    dpkg -i emc-scaleio-gateway_2.0-12000.122_amd64.deb
Cluster Install via the Installation Manager
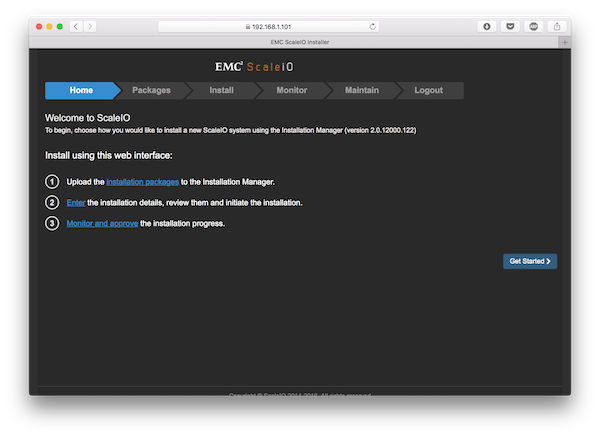
Once dpkg is done, we can access the Installation Manager UI by pointing our browser to the server on which we have just performed the installation. We need to connect via HTTPS, and accept the certificate when prompted.
From then on it’s just a matter of using the fairly self-explanatory UI.

Add SDS Devices
After the Installation Manager has finished setting up all the nodes, it’s time to add some storage to the cluster.
Log into the Meta Data Manager (MDM)…
scli --login --username admin --password somepass
And add some devices. In the following example I’m adding an empty partition /dev/sda1 from the 192.168.1.101 node to the storage pool.
scli --add_sds_device \
     --sds_ip 192.168.1.101 \
     --protection_domain_name default \
     --storage_pool_name default \
     --device_path /dev/sda1
The ScaleIO Management GUI
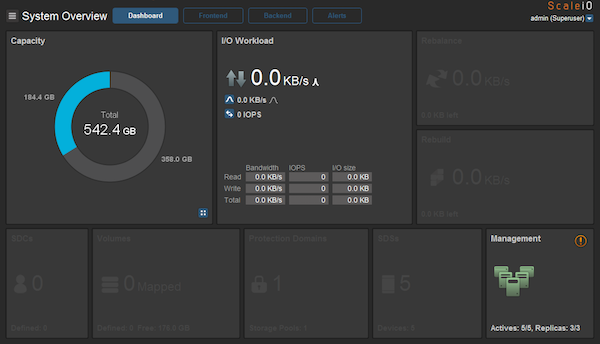
Finally, I installed the ScaleIO Management GUI in a Windows virtual machine, and confirmed that the devices were correctly provisioned.

There was a warning waiting for me when I logged into the management GUI:
Configured spare capacity is smaller than largest fault unit
One of my nodes has a larger SSD than the others. The default spare percentage hadn’t set aside enough spare space to cover the loss of that device. Adjusting the spare percentage fixed that:
scli --modify_spare_policy \
     --protection_domain_name default \
     --storage_pool_name default \
     --spare_percentage 34